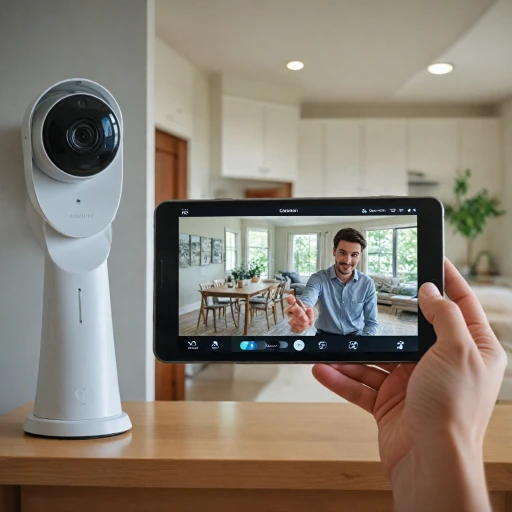
Understanding the importance of a sturdy outdoor stand
Why a Reliable Mount Matters for Outdoor Security Cameras
When setting up security cameras outdoors, the choice of mount or bracket is often overlooked. Yet, the stability and positioning of your camera depend heavily on the quality of the outdoor stand. A well-chosen camera mount ensures your device stays secure, even in harsh weather, and provides the best vantage point for monitoring your property.
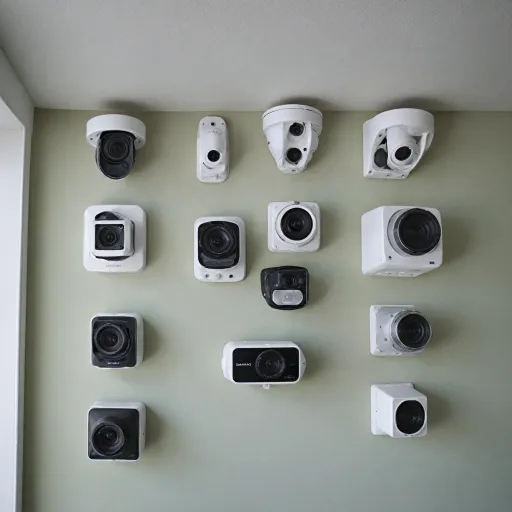
Outdoor mounts come in various types, such as wall mounts, pole mounts, ceiling mounts, and junction boxes. Each type is designed to support different camera models, like dome cameras, bullet cameras, or traditional CCTV cameras. The right mounting bracket not only keeps your camera safe but also helps you achieve optimal coverage, reducing blind spots and improving overall security.
- Stability: A sturdy metal or aluminum bracket minimizes vibrations and movement, which is crucial for clear footage.
- Compatibility: Matching the mount bracket to your camera type—whether it’s a dome camera or a bullet camera—ensures a secure fit.
- Weather Resistance: Outdoor mounts must withstand rain, wind, and temperature changes. Look for weatherproof products to protect your investment.
- Installation Flexibility: The number of mounting options, such as wall, pole, or ceiling, allows you to adapt to your property’s unique layout.
Choosing the right outdoor mount is the foundation for a reliable home security system. For more insights on how the right trail camera mount can enhance your home security, check out this guide on enhancing home security with the right trail camera mount.
Key features to look for in a security camera outdoor stand
What Makes a Good Outdoor Camera Stand?
When selecting an outdoor mount or bracket for your security camera, the right features can make all the difference in performance and longevity. The market offers a wide range of products, from wall mounts and pole mounts to junction boxes and ceiling mounts. Each type is designed to fit specific camera models, such as dome cameras, bullet cameras, or traditional CCTV cameras. Here are some key aspects to consider:
- Material Quality: Look for stands made from durable materials like aluminum or metal. These materials resist corrosion and provide a stable base for your camera, especially in outdoor environments.
- Compatibility: Check the product specifications to ensure the mount bracket fits your camera type, whether it's a dome camera, bullet camera, or another model. Some brackets are universal, while others are designed for specific brands or camera shapes.
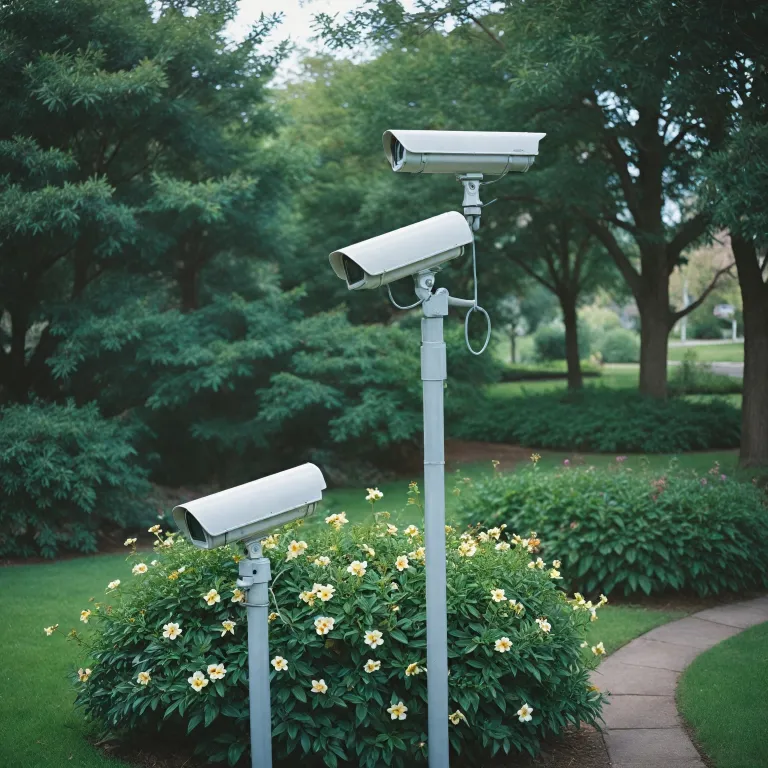
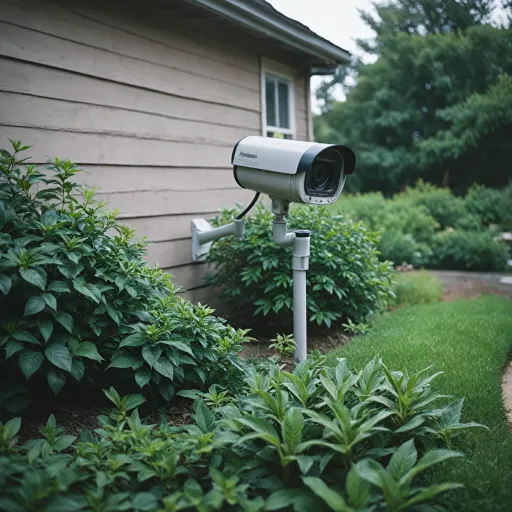
- Mounting Options: Decide if you need a wall mount, pole mount, or ceiling mount. Each offers different vantage points and coverage. For example, a camera pole can provide a higher viewpoint, while a wall mount is ideal for monitoring entryways.
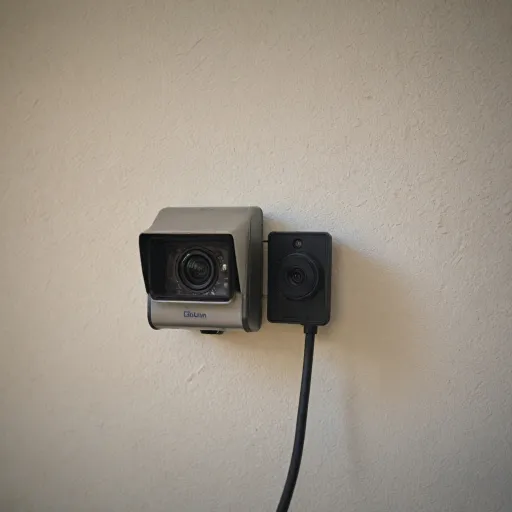
- Junction Box Integration: A junction box can help conceal wiring and connections, protecting them from weather and tampering. This is especially important for outdoor installations where exposure is a concern.
- Color and Design: Many homeowners prefer a white or neutral-colored bracket to blend with exterior walls. The design should not only be functional but also discreet to avoid drawing attention to the security system.
- Load Capacity: Ensure the mounting bracket can support the weight and size of your camera. Heavier cameras, such as large dome or PTZ models, require sturdier mounts and secure installation.
- Price and Shipping: Compare prices and shipping options across different products. While budget is important, investing in a high-quality mount can save you from future replacements or repairs.
For a deeper dive into choosing the right camera mount for your home security system, check out this comprehensive guide on camera mounts.
| Mount Type | Best For | Material | Common Camera Types |
|---|---|---|---|
| Wall Mount | Entryways, perimeter walls | Aluminum, metal | Bullet cameras, dome cameras |
| Pole Mount | Open areas, parking lots | Metal, aluminum | CCTV cameras, dome cameras |
| Ceiling Mount | Under eaves, ceilings | Metal, plastic | Dome cameras, bracket dome |
| Junction Box | Wire management, weatherproofing | Aluminum, plastic | All security cameras |
Choosing the right outdoor mount or bracket for your security camera is about more than just price or appearance. Consider the number of cameras you plan to install, the type of mounting bracket needed, and the specific requirements of your property. This careful approach will help you maximize both security and the lifespan of your equipment.
Weatherproofing and durability considerations
Choosing Materials That Withstand the Elements
When selecting an outdoor mount or bracket for your security camera, the material is a key factor. Outdoor environments can be harsh, with rain, snow, wind, and sun exposure all taking a toll on your equipment. Metal options like aluminum and stainless steel are popular for their durability and resistance to rust. A white finish can help reflect sunlight, reducing heat buildup on the camera and mount. For dome cameras, a dome camera mount made from UV-resistant materials helps prevent discoloration and cracking over time.
Weatherproof Ratings and What They Mean
Look for mounts and brackets with a clear weatherproof or waterproof rating, such as IP65 or higher. This rating indicates the product’s ability to resist dust and water, which is crucial for outdoor security cameras. A good mounting bracket or junction box should keep internal wiring safe from moisture. For bullet cameras, a wall mount with a gasket seal can prevent water ingress, while a pole mount should have corrosion-resistant hardware to ensure longevity.
Design Features for Long-Term Performance
- Sealed Junction Boxes: Protect connections and cables from rain and insects.
- Sturdy Camera Poles: A camera pole made of galvanized steel or powder-coated metal resists bending and rust.
- Flexible Mount Brackets: Adjustable mounts brackets allow you to reposition your camera for the best vantage point, even after installation.
- Ceiling Mounts: For dome cameras, a ceiling mount can offer extra protection from direct weather exposure.
Impact of Weather on Security Camera Performance
Extreme temperatures and humidity can affect both the camera and its mount. Some cameras and mounts are rated for a wide temperature range, which is important if you live in an area with hot summers or cold winters. Make sure the product you choose is designed for your local climate. For more on how environmental factors impact your security system, check out this guide on surveillance hard disk drives in home security.
Comparing Types and Prices
| Type | Material | Weatherproof Rating | Price Range |
|---|---|---|---|
| Wall Mount | Aluminum | IP66 | $$ |
| Pole Mount | Galvanized Steel | IP65 | $$$ |
| Ceiling Mount | Plastic/Metal | IP65 | $ |
| Junction Box | Metal | IP67 | $$ |
By considering these factors, you can ensure your outdoor security camera and its mount bracket will provide reliable performance and protection, regardless of the weather.
Installation tips for maximum security and coverage
Positioning Your Camera for Optimal Security
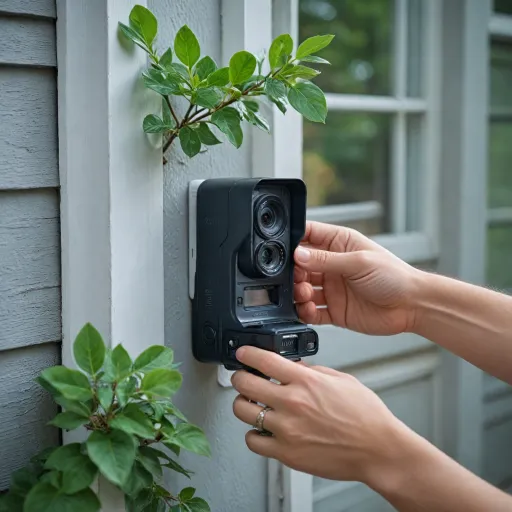
Getting the most from your security camera starts with careful placement and installation of the mount or bracket. The right location and angle can make a big difference in the coverage and effectiveness of your system. Here are some practical tips to help you maximize security and coverage with your outdoor camera stand:
- Choose the right vantage point: Mount your camera high enough to avoid tampering, but not so high that it loses detail. Corners of your property, near entrances, or above garage doors are common spots for dome cameras or bullet cameras.
- Consider the type of mount: Wall mounts, pole mounts, and ceiling mounts each offer different benefits. For example, a pole mount can provide a wide field of view, while a wall mount bracket is ideal for focused monitoring of entry points.
- Use sturdy materials: Opt for metal or aluminum brackets and mounts brackets for better durability. Products made from these materials withstand outdoor conditions and support the weight of various camera types, including dome cameras and bullet cameras.
- Secure the junction box: If your camera uses a junction box, make sure it is tightly sealed and mounted to prevent water ingress and protect wiring. A white or black box can blend with your exterior for a discreet look.
- Check for obstructions: Before finalizing the installation, ensure there are no trees, walls, or other objects blocking the camera’s view. Adjust the mounting bracket or camera mount as needed to get a clear line of sight.
- Test the angle: After mounting, check the camera feed to confirm the coverage area. Adjust the bracket dome or camera pole as necessary to eliminate blind spots.
Installation Steps for Different Mount Types
| Mount Type | Best Use | Key Steps |
|---|---|---|
| Wall Mount | Entryways, perimeter walls | Drill holes, use anchors, attach mounting bracket, secure camera |
| Pole Mount | Open yards, parking areas | Attach pole mount bracket, secure with straps, mount camera |
| Ceiling Mount | Under eaves, covered patios | Mark holes, use appropriate screws, attach camera mount |
| Junction Box | Wiring protection | Mount box, route cables, seal connections, attach camera |
Always follow the manufacturer’s instructions for your specific product and check the number of cameras supported by your chosen mount. Proper installation not only enhances security but also extends the life of your outdoor camera system by ensuring stability and weather resistance.
Common mistakes to avoid when choosing and installing a stand
Typical pitfalls when selecting and setting up your camera mount
Choosing the right mount or bracket for your security camera is crucial, but many people make avoidable mistakes that can compromise both security and the lifespan of their equipment. Here are some common errors to watch out for:- Ignoring compatibility: Not all mounts brackets fit every camera type. For example, dome cameras often require a specific dome bracket or ceiling mount, while bullet cameras might need a wall mount or pole mount. Always check if the mounting bracket matches your camera model and the intended location, whether it’s a wall, pole, or ceiling.
- Overlooking material quality: Opting for a low-price product might seem attractive, but cheaper mounts made from plastic or thin metal can fail in harsh outdoor conditions. Aluminum or stainless steel brackets offer better durability and weather resistance, especially for outdoor camera mounts.
- Poor placement: Installing your camera mount without considering the best vantage point can limit your camera’s field of view. Avoid placing your camera pole or wall mount too high, too low, or in a spot where obstacles like trees or gutters block the view.
- Neglecting junction boxes: Failing to use a junction box for wiring can expose cables to the elements, leading to damage or tampering. A proper junction box also helps keep your installation neat and secure.
- Improper fasteners: Using the wrong screws or anchors for your mounting surface (brick, wood, or metal) can cause the bracket to loosen over time. Always use hardware suited for the wall or pole material to ensure a stable installation.
- Forgetting about future expansion: Sometimes, people buy a mount that only fits one camera, but later want to add more security cameras. Consider the number of cameras you may want to install and whether the mount or pole can accommodate additional units.
Installation missteps that reduce security
- Loose or unstable mounting: If your camera mount isn’t tightly secured, wind or vibrations can cause shaky footage, making it hard to identify details. Double-check that all screws and brackets are firmly attached.
- Exposed wiring: Leaving cables exposed not only looks untidy but also invites tampering. Use a junction box or conduit to protect wires, especially for outdoor installations.
- Ignoring manufacturer instructions: Each product and mount bracket may have specific installation steps. Skipping these can void warranties or reduce the effectiveness of your security setup.
- Not testing the camera angle: After mounting, always test your security camera’s view. Adjust the bracket dome or camera mount as needed to cover all critical areas.
By avoiding these mistakes, you can ensure your CCTV camera, dome camera, or bullet camera is securely mounted, well-protected, and positioned for optimal security coverage. Reliable installation not only extends the life of your camera mounts but also maximizes the value of your investment in home security.
Maintenance and care for your outdoor camera stand
Routine Checks to Extend Lifespan
Regular inspection of your outdoor camera mount and bracket is essential for maintaining security and performance. Look for signs of rust or corrosion, especially if your product is made from metal or aluminum. Dome cameras and bullet cameras often use different types of mounting brackets, so check that all screws and fasteners remain tight and secure. If your camera is attached to a pole or wall, make sure the pole mount or wall mount is stable and not shifting due to weather or vibrations.Cleaning and Preventing Build-Up
Outdoor mounts, especially white or light-colored ones, can accumulate dust, pollen, or bird droppings. Gently clean the camera mount, junction box, and camera pole with a soft cloth and mild detergent. Avoid harsh chemicals that could damage the finish or compromise the waterproofing of the bracket dome or cctv camera housing. For dome cameras, ensure the dome cover remains clear to avoid blurry footage.Weatherproofing and Seasonal Adjustments
Exposure to rain, snow, or extreme sun can affect the durability of your mounting bracket and camera mounts. Inspect the seals around the junction box and check for any cracks in the outdoor mount. Some mounts brackets are designed for specific weather conditions, so verify that your product matches your local climate. If you notice water ingress or condensation inside the dome camera or cctv camera, address it immediately to prevent damage.Firmware and Positioning Updates
While maintaining the physical aspects, don’t forget to update your security camera’s firmware. This ensures optimal security and compatibility with your mounting system. Occasionally review the vantage point of your cameras. Adjust the angle or reposition the mounting bracket if trees grow or new obstacles appear, which could block the camera’s field of view.- Check the number of cameras and mounts regularly to ensure all are accounted for and functioning.
- Review the price and warranty of replacement parts, such as a new bracket or junction box, to plan for future maintenance.
- Store spare screws and mounting hardware in a labeled box for quick repairs.
- Monitor shipping times for replacement products if you rely on specific brands or types of camera mounts.

