Understanding the Importance of Camera Placement
The Crucial Role of Strategic Camera Positioning
When it comes to enhancing your home security with a surveillance camera system, the positioning of your cameras is vital. Effective placement can mean the difference between a system that is merely decorative and one that significantly boosts your property’s safety. A well-positioned camera ensures clear, comprehensive coverage, capturing motion efficiently while minimizing blind spots. For instance, installing a camera bracket on a wall opposite to entry points, such as doors and windows, maximizes visibility. This strategic placement helps in capturing potential intruders in action, especially if you incorporate motion-sensing cameras that can swivel or tilt. Placing cameras higher up on walls or even considering ceiling mounts reduces the risk of tampering while offering a broader field of view. Consider using different camera mount options tailored to your particular needs. From fixed-position mounts that provide a steady, unwavering focus to full motion wall mounts offering extensive articulating reach, each has its benefits. If you're uncertain of which mount type to select, our article on choosing the right camera mounts for your home security system is an excellent resource. Moreover, the environment around your home influences camera placement decisions. Urban settings may require low profile designs to keep them inconspicuous, while rural areas could benefit from super heavy-duty mounts to withstand harsher weather conditions. These considerations ensure that the mounts provide the full protection your large TV-style cameras need to operate effectively, often supporting up to dozens of lbs in weight. Ultimately, striking the right balance between visibility, accessibility, and protection is key. Proper camera placement not only enhances the performance of your security cameras but also gives you peace of mind knowing that your home is well-protected.Choosing the Right Mount Bracket for Your Wall
Finding the Perfect Mount for Your Surveillance Setup
Selecting the right mount bracket is crucial for the stability and effectiveness of your security camera. When it comes to camera mounts, the market offers a variety of options such as motion wall mounts, full motion brackets, and fixed-position mounts. The choice largely depends on where you plan to install your camera and the type of wall you are working with. There are several features to consider:- Full Motion Brackets: These mounts offer flexibility with swivel and tilt features, making them ideal for wide coverage areas. A full motion wall mount allows you to adjust your camera’s angle as needed to cover large spaces effectively.
- Fixed Position Mounts: If the camera needs to be focused on a specific point, a fixed position mount will provide a stable and unobtrusive setup. Large TVs and heavy duty mount options offer great support in these cases.
- Tilt and Swivel Mounts: Opt for tilt swivel mounts if you require vertical and horizontal motion. This feature can be especially useful if your camera is at a higher placement and needs adjustment for optimal viewing.
- Low Profile and Ultra Slim Designs: For aesthetics and discreet installation, consider a low profile or ultra slim mount. These mounts keep the surveillance camera close to the wall, avoiding any bulky appearance.
- Ceiling Mounts: In some scenarios, ceiling mounts may be suitable, especially in rooms with vaulted ceilings or in business environments where a high vantage point is necessary.
Tools and Materials Needed for Installation
Essential Tools and Materials for Secure Installation
To properly mount a camera bracket on your wall, collecting the right tools and materials is crucial. This ensures not only a smooth installation process but also the camera's longevity and effectiveness in enhancing the security of your home.- Mount Bracket: Choose a bracket that best suits your needs, such as a fixed, full motion, or low profile option. Each has its own advantages, ranging from super low-profile designs to mounts that offer tilt and swivel capability.
- Wall Anchors and Screws: Depending on the wall's material—whether it be drywall, concrete, or wood—select the appropriate wall anchors and screws. This guarantees that the mount can hold the specified weight in pounds (lbs), preventing any risks of falling or damage.
- Screwdriver or Drill: A screwdriver or a power drill, with bits matching the screws, will be vital for securing the mount into place.
- Level: Ensuring that the mount is level is critical for both aesthetic and functional purposes, especially when using a fixed position mount.
- Measuring Tape: Accurate measurement helps in placing your camera at an optimal height and position on the wall.
- Stud Finder: A stud finder ensures the anchor into solid backing, allowing for support of heavier loads like large cameras, similar to how one would mount heavy duty TVs.
Step-by-Step Guide to Mounting a Camera Bracket
Step-by-Step Instructions for Mounting a Security Camera Bracket
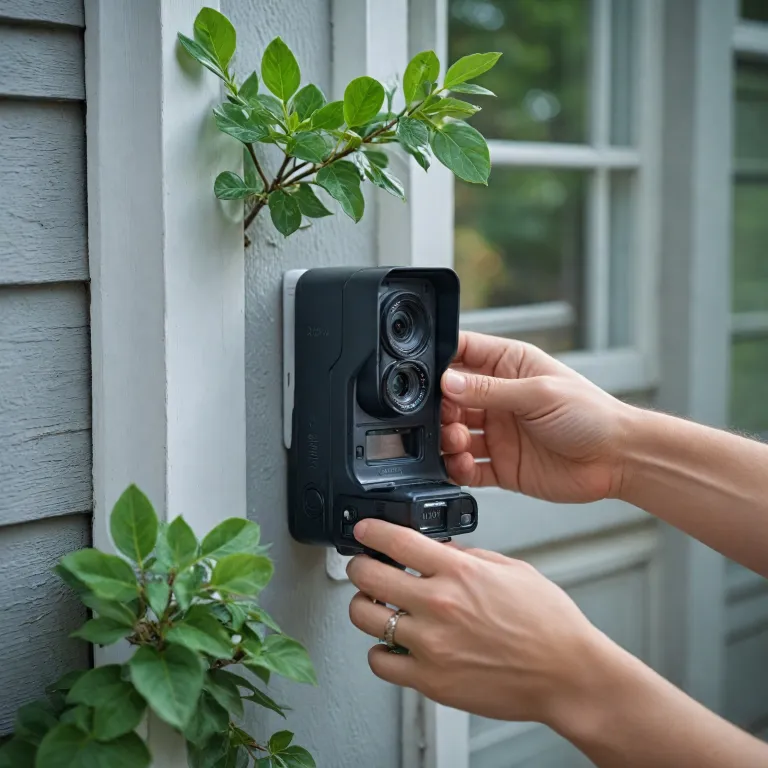
Mounting a security camera bracket is crucial for both effective surveillance and stability. The process involves several careful steps to ensure your camera is securely attached and optimally positioned.- Determine the Ideal Location
- Before installation, choose a high point on the wall that allows a full view of the area. Consider where motion is most likely to occur and avoid placing the camera where it will be obstructed by TVs, panels, or other objects.
- Prepare the Wall
- Once the location is selected, use a stud finder to detect any studs behind the wall. A wall mount bracket will require a stable base, preferably fixed into a stud for maximum support and to securely hold the camera’s weight, typically measured in lbs.
- Mark and Drill Holes
- With the bracket in place, mark drill holes with a pencil. Check the product’s manual for specific measurements and ensure they align with the mount’s holes. Drill the holes according to the wall type—whether it be a drywall, concrete, or another material.
- Secure the Mounting Bracket
- Use the appropriate screws and wall anchors provided with your mount. Tighten them to keep the bracket in a fixed position. If your mount extends or swivels, ensure there’s enough motion range without obstruction.
- Attach the Camera
- Depending on your camera’s profile design, it may need to be connected to the bracket before securing it. Heavy-duty mounts are available for larger cameras or those with a higher lbs specification.
- Adjust and Secure the Angle
- Once mounted, adjust the camera angle for optimal viewing. Utilize any tilt swivel, full motion, or low profile features to achieve the best coverage of the intended area. Tighten all screws and check that the mount is stable and the camera doesn’t wobble.
- Test the Camera
- After mounting, it’s essential to test the camera to confirm it operates correctly and the coverage is as expected. Ensure night vision, motion sensors, and any other features function properly from the current angle.
Common Challenges and How to Overcome Them
Overcoming Installation Challenges
Mounting a security camera bracket might seem straightforward, yet several challenges can arise during the process. Here are some common pitfalls and how to tackle them efficiently:- Finding the Right Spot: It’s crucial to balance between a high vantage point and accessibility for maintenance. Test the camera’s motion detection range to ensure it captures desired areas. Additionally, consider whether a fixed position or a tilt swivel mount would provide the optimal view.
- Dealing with Mount Types: Different mounts such as ceiling mounts, low profile designs, or full motion wall mounts have unique installation requirements. Make sure to select the type that fits your wall and camera weight specifications. A heavy duty mount could be necessary for large TVs and cameras with more lbs.
- Navigating Wall Material: Installing on various wall materials like drywall, brick, or concrete will demand different tools. It’s vital to use the correct anchors and screws so the mount remains secure, especially if it extends or supports a full motion feature.
- Managing Cables: For a clean installation, cables should be organized and possibly hidden. This maintains a low profile aesthetic, akin to super slim TV mounts. Use cable clips or run them through walls if possible.
- Adjusting for Perfect View: The angle of the camera is critical. A wall mount with tilt swivel or full motion capabilities allows easy adjustments after installation, without having to re-drill. Adjust the mount to get the best panel view and fix it appropriately.
- Attaining Stability and Durability: Ensure that all screws and mounts are securely fastened to prevent any wobbling, which could affect motion detection accuracy. Verify that the selected mount fits the camera’s lbs and design.
Maintaining Your Mounted Security Camera
Ensuring Longevity and Performance of Your Security Cameras
Once your security camera system is securely installed on the wall with the appropriate mount bracket, it's vital to focus on its ongoing maintenance to ensure it remains effective and reliable.
Firstly, regular cleaning is essential. Dust and debris can accumulate on the camera lens and the mount, potentially obstructing vision and affecting motion detection accuracy. Use a soft, dry cloth to gently wipe any visible buildup. Avoid using harsh chemicals that could damage the lens or camera housing.
Assess the integrity of the mounting system periodically. This is especially important if your camera setup utilizes a motion wall or motion mount assembly, as frequent movements can cause wear over time. Check all screws and adjust as needed to maintain a steady, secure hold. For installations involving heavy-duty mounts or large TVs mounted on the same wall, this might mean checking load-bearing capacity, ensuring the bracket continues to support the advertised lbs.
Weather-proofing is another critical aspect. If your camera is installed outdoors, verify that it's adequately shielded from environmental factors like rain or extreme temperatures. Products with a low profile or ultra-slim design, often listed on platforms like Amazon, may offer specific protective features that enhance durability.
Finally, verify operational functionality regularly. This involves testing the camera's tilt, swivel, and full motion capabilities, ensuring they are as responsive and precise as when the camera was first installed. This is crucial for maintaining a full coverage, as a camera fixed in one position might miss critical areas over time.
By incorporating these routine checks and adjustments, you'll not only safeguard your investment but also enhance the security of your home. Prioritize a systematic approach to maintenance to extend the lifespan and reliability of your mounted security cameras.