Understanding the benefits of using an iPhone as a security camera
Why Turn Your iPhone Into a Home Security Camera?
Repurposing an iPhone as a security camera is a practical solution for anyone looking to enhance home security without investing in new devices. Many people have an old Apple phone or tablet sitting unused in a drawer. With the right camera app, you can transform your iPhone into a reliable security camera, offering live streaming, motion detection, and even night vision features depending on the app and model.
Cost-Effective and Flexible Security
Using an iPhone as a camera security device is cost-effective. Instead of buying a new security camera, you can use a device you already own. This approach also gives you flexibility—move the phone to different rooms or windows as needed, or use it as a baby monitor or to keep an eye on pets. Many camera apps available on the App Store support both iOS and macOS, making it easy to monitor your video feed from other Apple devices or even a Windows PC.
Advanced Features with the Right Apps
Modern camera apps offer a series of advanced features, such as motion detection, cloud storage, and live notifications. Some apps even allow you to monitor multiple cameras or devices at once, giving you a comprehensive view of your home’s security. You can find apps that work across different operating systems, including Android and Amazon Fire devices, but iPhone security apps are often optimized for Apple’s ecosystem.
Integration and Storage Options
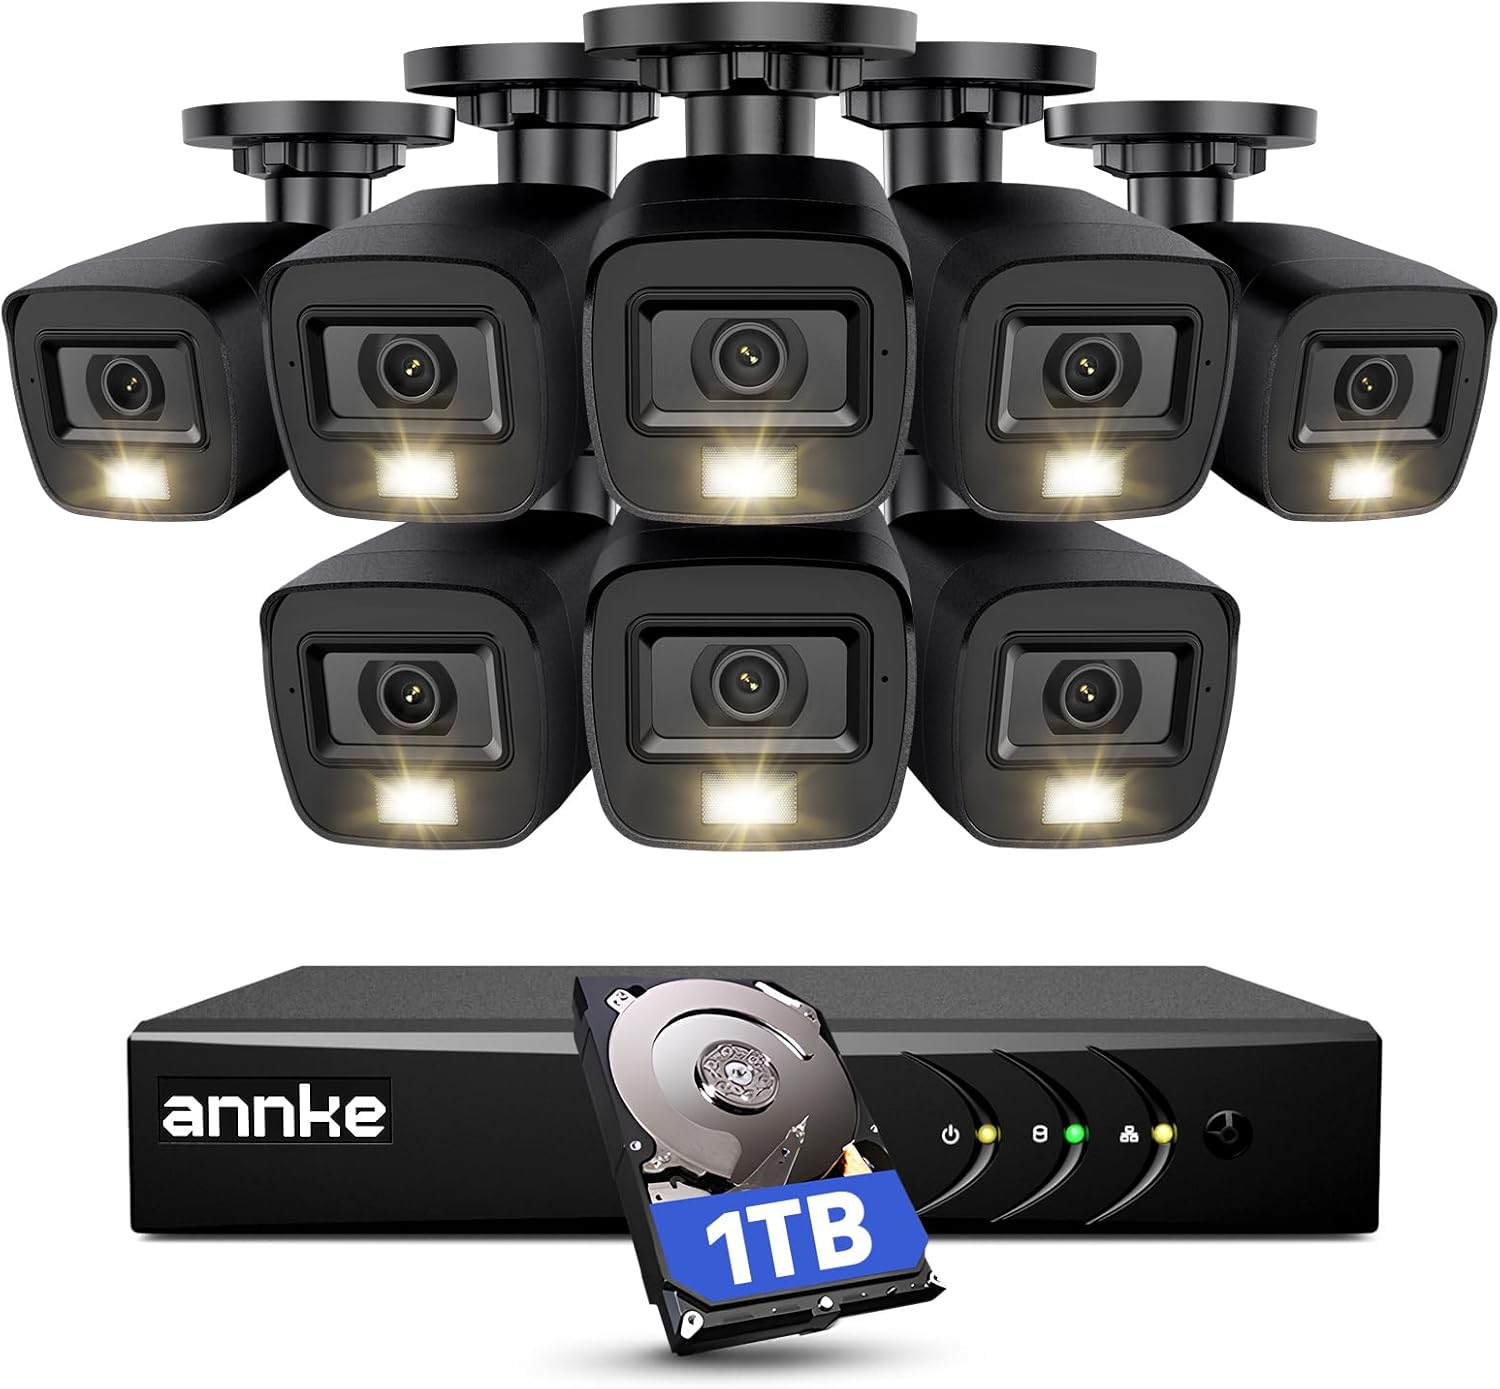
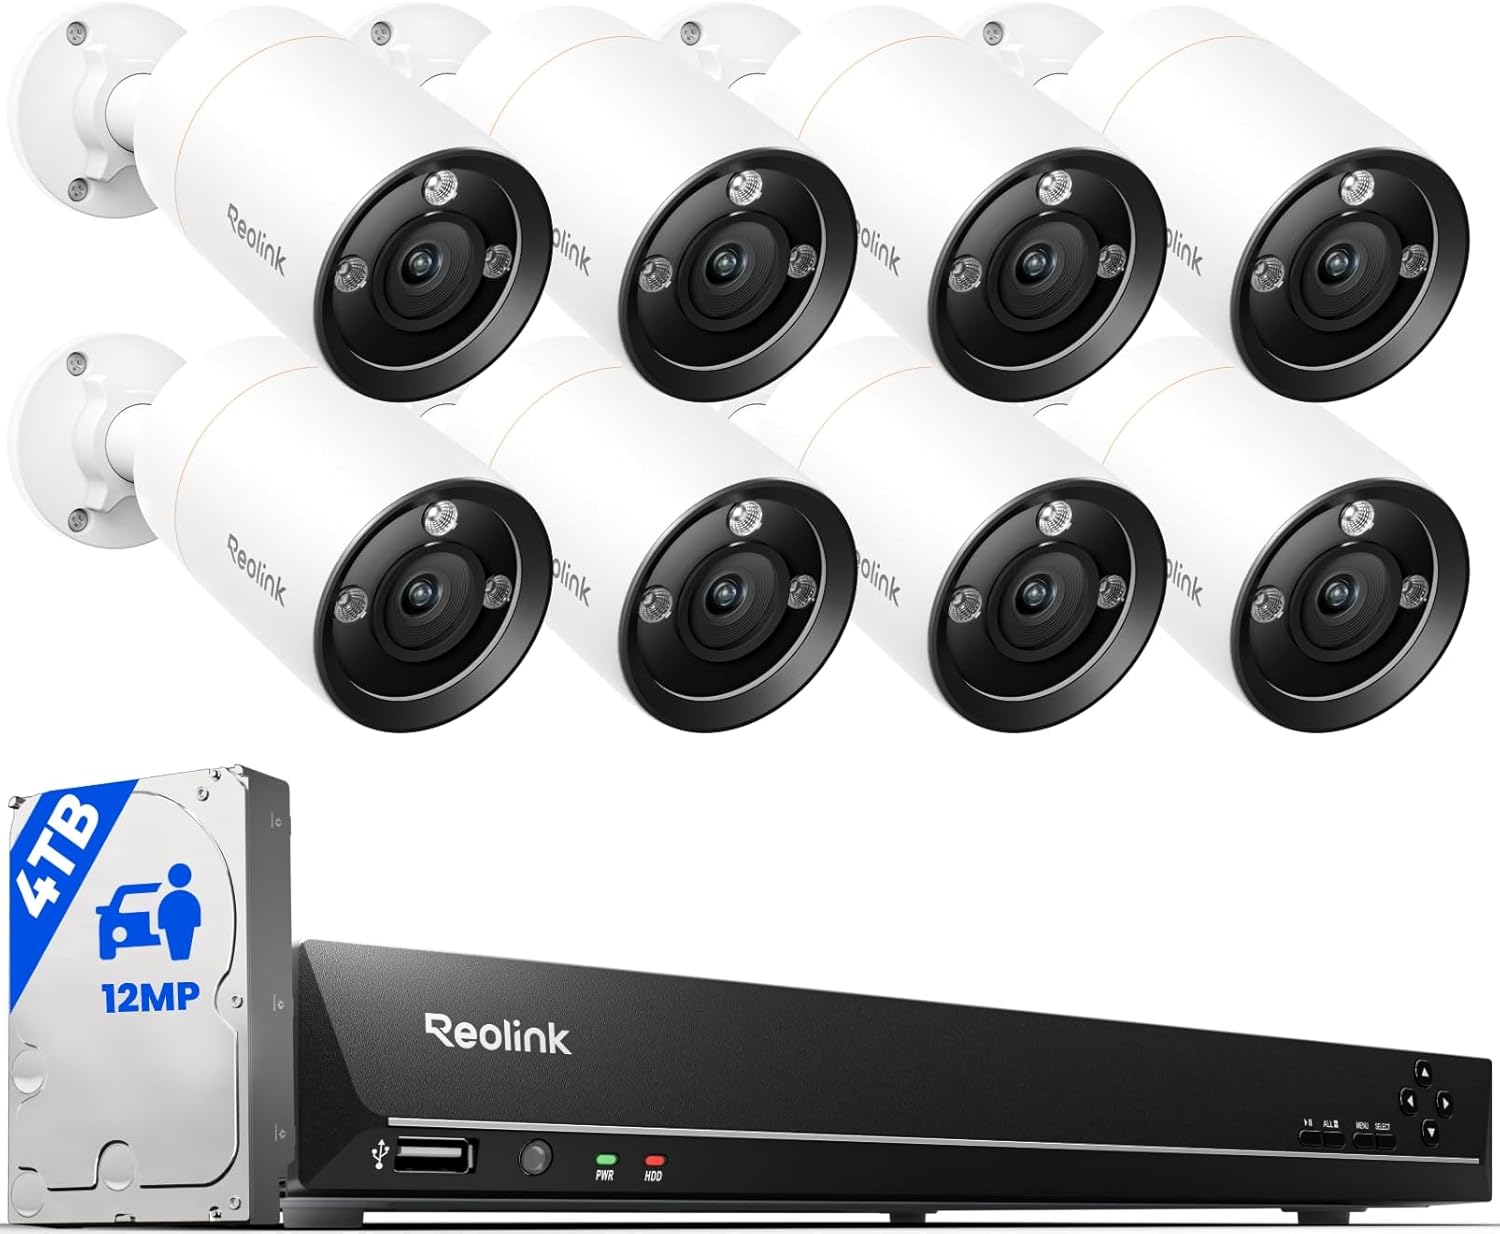
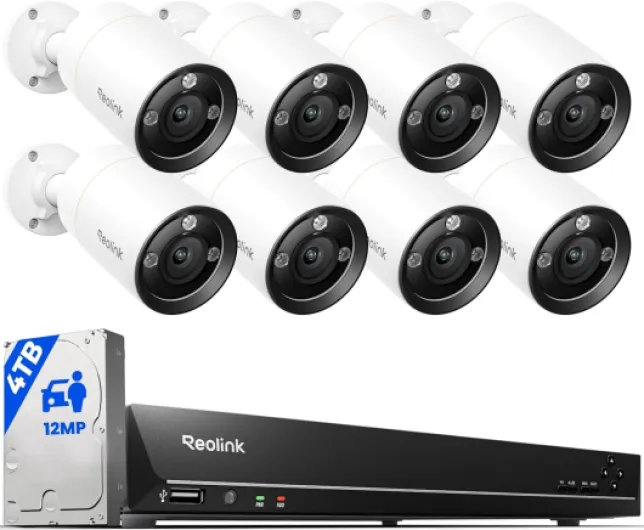
One of the best things about using an iPhone camera for security is the integration with existing networks and devices. You can set up your phone to send alerts to your main device or store video footage in the cloud. If you’re considering local storage, understanding the role of surveillance hard disk drives in home security can help you make informed decisions about where and how to save your video recordings.
- Reuse your old devices for home monitoring
- Access live streaming from anywhere
- Customize your setup with different camera apps
- Monitor your home from your phone, tablet, or computer
By turning your iPhone into a security camera, you gain a flexible, affordable, and effective way to keep an eye on your home. The next steps involve choosing the best app for your needs and setting up your device for continuous monitoring.
Choosing the right apps for home monitoring
Key Features to Look for in iPhone Security Camera Apps
When turning your iPhone into a security camera, the right app is crucial. Not all camera apps offer the same features or reliability. The best apps for iOS devices provide a mix of live streaming, motion detection, cloud storage, and compatibility with other devices like Windows, macOS, or even an Amazon Fire tablet. Here’s what to keep in mind when searching the App Store:
- Live Streaming: Essential for real-time monitoring. Look for apps that allow you to keep an eye on your home from anywhere, using your phone, tablet, or computer.
- Motion Detection: This feature sends alerts when movement is detected, helping you monitor activity without watching the video feed constantly.
- Cloud Storage: Some apps offer cloud storage for recorded video, so you can review footage later. Others may save video locally on your device or a network drive.
- Night Vision: If you want to monitor your home at night, choose an app that supports night vision or enhances low-light video.
- Multi-Device Support: The best camera apps let you connect multiple iPhones or other devices, creating a series of security cameras throughout your home.
- Compatibility: Make sure the app works with your iPhone’s operating system and any other devices you want to use for monitoring, like Windows or macOS computers.
Popular App Choices for Repurposed iPhones
Several apps stand out for turning an iPhone into a reliable security camera. Some are free with basic features, while others offer premium options for advanced camera security. Popular choices include Alfred, Manything, and Presence. These apps are regularly updated for Apple devices and offer a range of features from live streaming to baby monitor modes.
Consider Storage Options for Video Footage
Depending on your needs, you might want to store video locally or in the cloud. Some apps let you use SD cards or network storage, while others focus on cloud-based solutions. For those interested in using SD cards with their camera phone setup, check out this guide on choosing the right SD cards for trail cameras—the advice applies to iPhone security setups as well.
Free vs. Paid Apps: What’s Worth Paying For?
Free apps can be a good starting point, but paid versions often unlock advanced features like longer video history, higher resolution, or integration with other smart devices. Evaluate what’s most important for your home security—sometimes, investing in a premium app is worth the peace of mind.
Setting up your iPhone for continuous monitoring
Preparing Your iPhone for Security Camera Duty
Turning your iPhone into a reliable security camera involves more than just downloading an app. It’s about making sure your device is ready for continuous monitoring and live streaming, while keeping your home network and personal data secure. Here’s a step-by-step approach to get your camera phone set up for the best results.
- Update your iOS: Before you start, make sure your iPhone is running the latest version of Apple’s operating system. This ensures compatibility with most camera apps and keeps your device secure.
- Choose a dedicated camera app: Select a security camera app from the App Store that fits your needs—look for features like motion detection, night vision, cloud storage, and live streaming. Some apps also support multi-device monitoring, so you can keep an eye on several areas at once.
- Connect to a stable network: For uninterrupted video streaming, connect your iPhone to a reliable Wi-Fi network. Avoid using mobile data, as it can be unstable and may lead to extra charges.
- Power supply is key: Continuous monitoring drains battery quickly. Place your iPhone near a power outlet and use a certified charger to keep it running 24/7.
- Disable auto-lock and notifications: Set your iPhone’s auto-lock to ‘Never’ so the screen stays on, and turn off notifications to prevent interruptions during live monitoring.
- Optimize storage: Security camera apps can generate a lot of video data. Check your available storage and consider using cloud storage options if your app supports it.
- Physical setup: Use a stable stand or wall mount to position your iPhone securely. This helps avoid accidental falls and ensures the camera stays focused on your chosen area.
For those who want to integrate their iPhone security camera with other devices, many apps offer compatibility with Windows, macOS, and even Amazon Fire tablets. This allows you to monitor your video feed from multiple platforms, giving you more flexibility and control over your home security setup.
If you’re replacing an existing camera or door station, you might find this step-by-step guide to safely remove your Mobotix Door Station T26 helpful for a smooth transition.
Setting up your iPhone as a security camera is a practical way to repurpose an older device, but it’s important to follow these steps to ensure the best performance and security for your home.
Best practices for camera placement in your home
Finding the Optimal Spots for Your iPhone Security Camera
Getting the most out of your repurposed iPhone as a security camera depends a lot on where you place it. The right location can help you monitor key areas, get clear video, and make the most of features like motion detection and night vision. Here are some practical tips to help you set up your device for the best results:
- Entry Points: Place your camera phone near main entrances, such as front and back doors, or garage access points. These are the most common areas for unauthorized entry, and monitoring them can help keep an eye on who comes and goes.
- High Traffic Areas: Consider positioning your iPhone camera in hallways or living rooms where there’s frequent movement. This helps you monitor activity and can double as a baby monitor or pet cam.
- Windows Facing Outside: If you want to monitor your yard or driveway, set up your device near a window. Make sure there’s minimal glare and that the camera app can handle changes in lighting.
- Discreet Placement: For added security, try to keep your camera phone out of obvious sight. Use shelves, behind plants, or among other devices to blend it in while ensuring the lens has a clear view.
- Stable Surface: Your iPhone security camera should be on a stable, vibration-free surface to avoid shaky video. Use a stand or mount if needed, especially if you’re using it for continuous live streaming.
- Power Source: Since continuous monitoring drains battery, place your device near a reliable power outlet. This is especially important for older Apple devices or if you’re using features like cloud storage or live monitoring over your network.
- Wi-Fi Signal: Make sure your iPhone camera is within strong Wi-Fi range. A weak signal can disrupt video streaming and motion detection notifications, especially if you’re monitoring from another phone, tablet, or computer (Windows or macOS).
Maximizing Camera Features and App Performance
- Field of View: Use the camera app’s preview to check what’s visible. Adjust the angle so you capture the widest area possible without obstructions.
- Lighting Conditions: For night vision, ensure there’s enough ambient light or use an app that enhances low-light video. Avoid pointing the camera directly at bright lights or windows to prevent glare.
- Motion Detection Zones: Some apps let you set detection zones. Focus these on entryways or sensitive areas to reduce false alerts and make monitoring more efficient.
By carefully choosing where and how you set up your iPhone camera, you can transform your old device into one of the best home security cameras. Whether you’re using iOS apps from the App Store or connecting to other devices like Amazon Fire tablets, a thoughtful setup will help you monitor your home effectively and securely.
Privacy and security considerations when using an iPhone camera
Protecting Your Privacy When Using an iPhone as a Security Camera
When you turn your iPhone into a security camera, privacy and security should be top priorities. Unlike traditional security cameras, your phone contains personal data, messages, and apps, so it’s important to take extra precautions.- Secure your device: Always use a strong passcode or biometric lock on your iPhone. This helps prevent unauthorized access if someone gets physical access to your device.
- Choose reputable camera apps: Only download camera apps from the official App Store. Look for apps with high ratings, transparent privacy policies, and regular updates. Avoid apps that request unnecessary permissions or have unclear data practices.
- Manage network access: Make sure your home Wi-Fi network is protected with a strong password and WPA3 encryption if available. Limit access to your network to trusted devices only. This reduces the risk of someone intercepting your live video stream.
- Control cloud storage: If your camera app offers cloud storage for video recordings, review the provider’s privacy policy. Understand where your video data is stored and who can access it. Some apps allow you to store footage locally on the device or on a secure home server for added control.
- Monitor app permissions: Regularly check which apps have access to your camera, microphone, and location. On iOS, you can manage these permissions in the Settings app. Disable access for apps you don’t trust or no longer use.
- Keep software updated: Update your iPhone’s operating system and camera apps regularly. Updates often include important security patches that protect your device from vulnerabilities.
- Be mindful of live streaming: If you use live streaming features to monitor your home, ensure the stream is encrypted and only accessible to you or trusted users. Avoid sharing links to your live feed on public forums or social media.
Balancing Security and Convenience
Repurposing an iPhone as a security camera offers flexibility, but it also comes with unique privacy challenges. Always weigh the convenience of remote monitoring against the need to keep your personal data safe. Using strong passwords, secure networks, and trusted apps will help you keep an eye on your home without compromising your privacy or security.Troubleshooting common issues with repurposed iPhones
Common hiccups and how to fix them
Repurposing an iPhone as a security camera is a smart way to keep an eye on your home, but it’s not always smooth sailing. Here are some frequent issues users encounter, along with practical solutions:- App crashes or freezes: If your camera app keeps crashing, check for updates in the App Store. Make sure your iOS is compatible with the latest version of the app. Sometimes, restarting the device or reinstalling the app can resolve persistent problems.
- Battery drain: Continuous live streaming or motion detection can quickly drain your phone’s battery. To avoid interruptions, keep your device plugged in with a reliable charger. Consider using low-power mode if available in your camera apps.
- Connectivity issues: A stable Wi-Fi network is essential for smooth video streaming and remote monitoring. If you notice lag or disconnects, try moving your iPhone closer to your router or use a Wi-Fi extender. Double-check your network settings and ensure your device isn’t overloaded with other apps running in the background.
- Overheating: Running a camera app for hours can cause your iPhone to heat up, especially if it’s in a case or placed in direct sunlight. Place the device in a well-ventilated area and remove any case if safe to do so. If overheating persists, schedule breaks in monitoring or use motion detection instead of continuous video.
- Notifications not working: If you’re not receiving alerts for motion detection or other events, verify that notifications are enabled for your chosen app in iOS settings. Some camera security apps require specific permissions to send alerts, so double-check those as well.
- Video quality problems: Blurry or choppy video can result from poor lighting or slow network speeds. Adjust the camera placement for better lighting, and if possible, use apps that support night vision for low-light areas. Lowering the video resolution in the app settings can also help with smoother streaming on slower networks.
- Storage limitations: If you’re saving video locally, your device may run out of space quickly. Opt for cloud storage options offered by many camera apps, or regularly transfer files to a computer running Windows or macOS. Some apps let you set up automatic deletion of old footage to free up space.
Ensuring smooth operation across devices
- Make sure your iPhone and any monitoring devices (like a phone, tablet, or computer) are running compatible operating systems and updated apps.
- For those using multiple devices to monitor live feeds, check that your network can handle the extra traffic, especially if you have other security cameras or smart home devices connected.
- If you’re using features like baby monitor mode, motion detection, or night vision, test them thoroughly to confirm they work as expected on your chosen camera app.