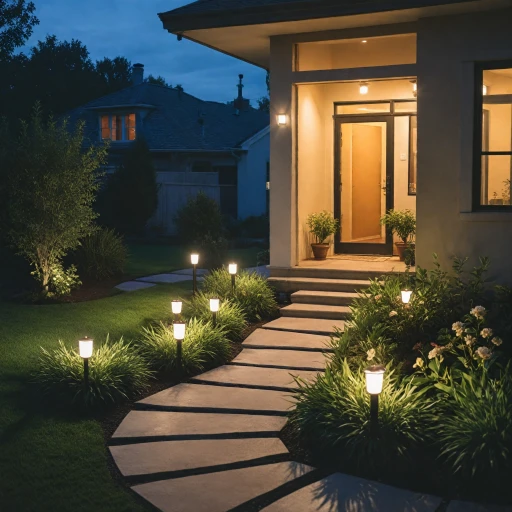
Understanding Camera Types and Their Placement
Choosing the Best Camera Types and Placement
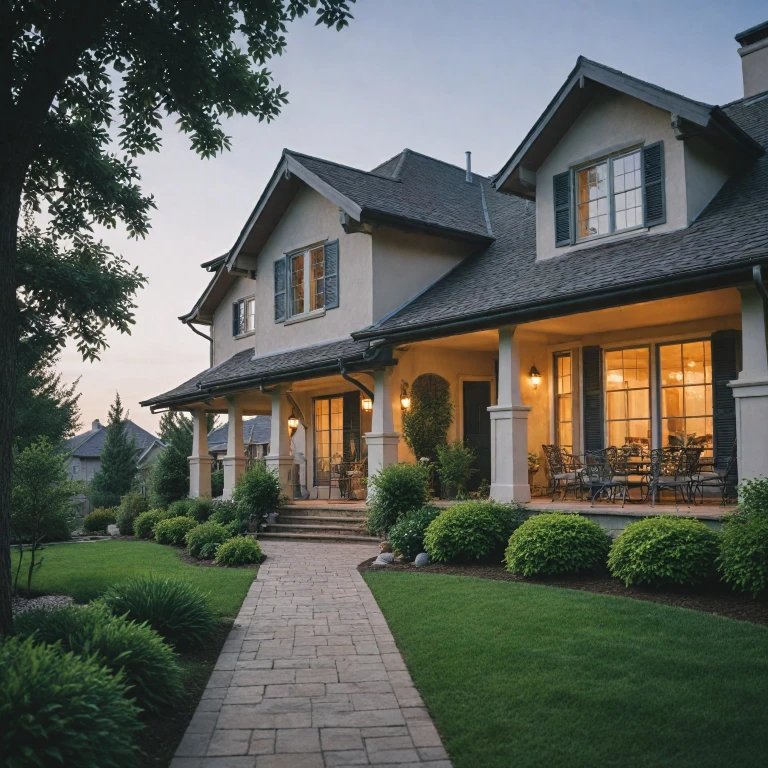
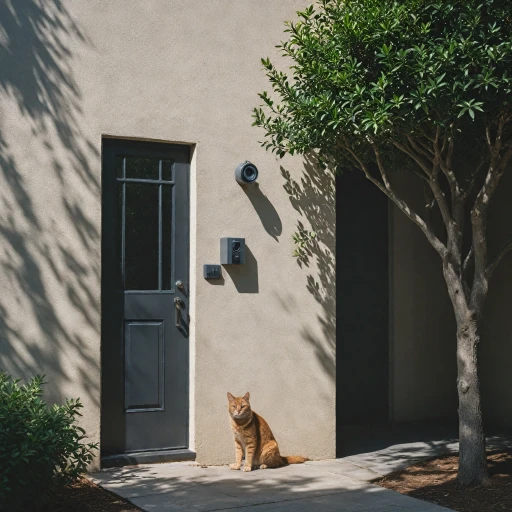
When embarking on the journey to install security cameras at your home, understanding the correlation between camera types and their placement is crucial. Various options are available, including wireless security, indoor and outdoor cameras, as well as wired and front door surveillance cameras. Each type comes with its unique features to cater to specific security needs and considerations for your home.
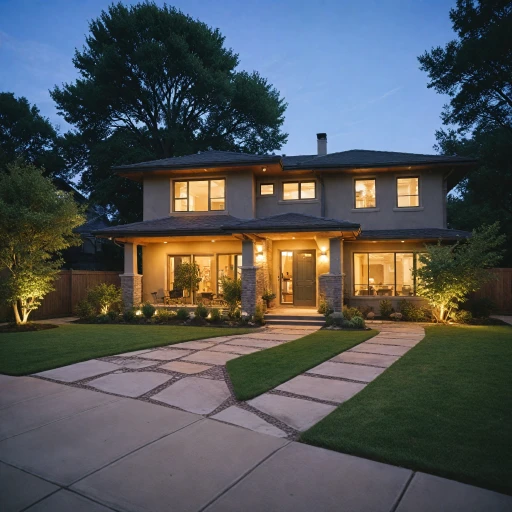
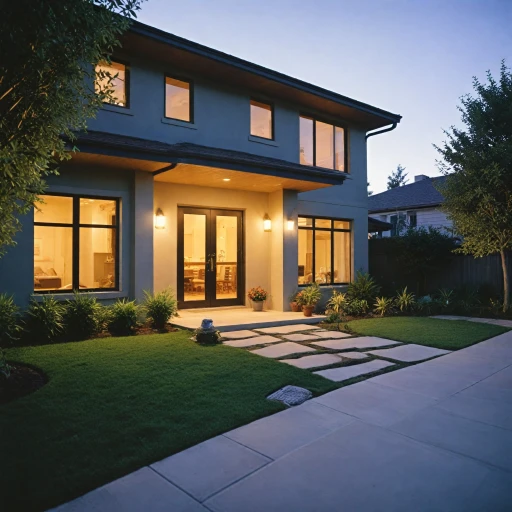
Firstly, it's important to assess the areas of your home that require surveillance, such as the entry points like front doors and garages. Also consider places that might otherwise be out of view or susceptible to blind spots. For these, outdoor cameras are highly recommended because they are designed to withstand the elements and provide wider coverage of your premises. These cameras should be installed in robust camera mounts to ensure stability and durability in different weather conditions.
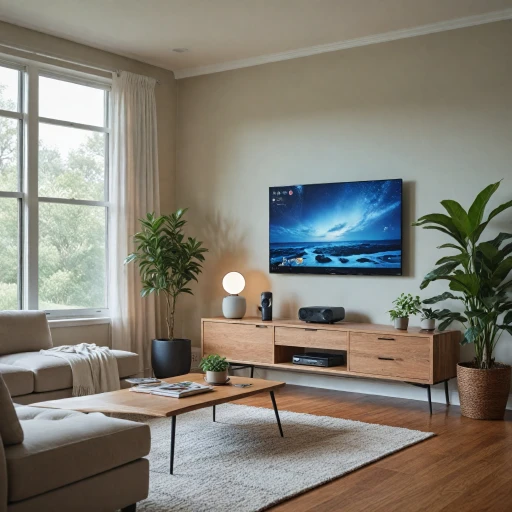
Indoors, a strategic camera placement will focus on living areas, egress points, and other key locations where monitoring can deter potential intrusions. Wired systems tend to offer reliable video quality and are often favored for rooms with complex layouts where constant power sources are needed.
In terms of placement, height plays a significant role. Cameras mounted higher on walls reduce the likelihood of tampering while offering a broader view, enhancing your security system’s effectiveness. Ensure to aim for unobstructed views, clear angles of entry, and optimal range to cover vulnerable areas.
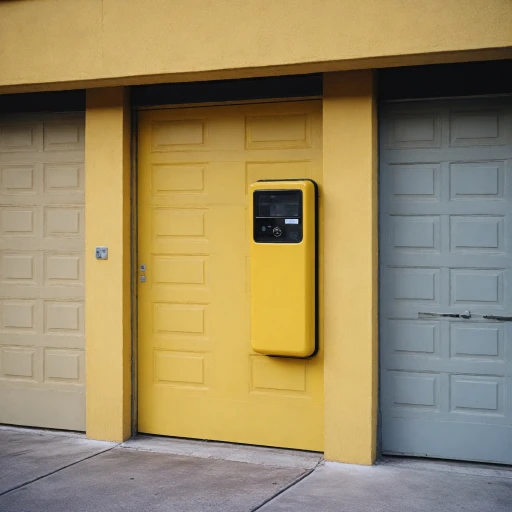
For those looking to seamlessly integrate their home security, it's essential to select a camera system that is compatible with other security components, such as a garage door handle which plays a critical role in fortifying your premises.
Ultimately, making informed decisions about camera types and their placement is the foundation for a robust security system. This thoughtful planning ensures comprehensive coverage of your home, safeguarding your peace of mind.
Choosing the Right Mounting Locations
Optimal Locations for Camera Mounting
When determining where to install security cameras around your home, it's essential to identify strategic spots that offer the best view and coverage. The effectiveness of your security system depends largely on the placement of the cameras to minimize blind spots and maximize monitoring capability.
Identifying Critical Areas
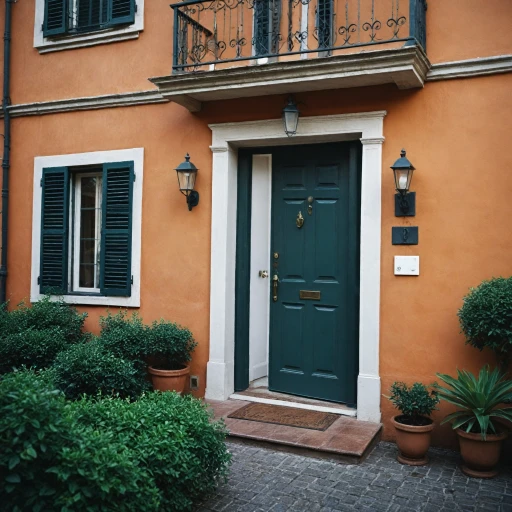
To ensure comprehensive surveillance, focus on entry points like front and back doors, and ground-floor windows. Installing security cameras here can deter break-ins and capture crucial video evidence. Consider coverage for driveways, porches, and patio doors as well.
Outdoor and Indoor Considerations
Outdoor cameras are typically installed higher up on walls to avoid easy tampering while providing a clear view. Make sure they are mounted to withstand the elements. For indoor cameras, room corners that give a wide view of the space are ideal places to mount security cameras.
Camera Placement and Visibility
Whilst ensuring cameras are in the best surveillance positions, ponder on their visibility. Visible cameras can act as deterrents, but hidden ones may catch potential intruders off guard. It's a fine balance depending on security objectives.
Also, ensure placement doesn't obstruct the power source for wired systems or interfere with the view for wireless security cameras, which rely on strong connectivity.
Tools and Equipment Needed for Installation
Essential Equipment for a Successful Camera Installation
Before diving into the process of installing security cameras, it is crucial to gather all the necessary tools and materials to ensure a smooth installation experience. Here’s a concise guide to help you prepare:
- Camera Mounts: Depending on your chosen camera placement, select suitable camera mounts. These support the camera and allow easy adjustments to the view.
- Drill and Drill Bits: A good-quality drill with appropriate drill bits is essential for creating holes in walls, ceilings, or other surfaces where you’ll mount your cameras.
- Mounting Hardware: This may include screws, anchors, and brackets crucial for securely attaching cameras to the wall or other surfaces.
- Power Drill/Screwdriver: These tools help drive screws into the wall or mounting surface for a sturdy setup.
- Ladder: A sturdy ladder may be required, especially when installing outdoor cameras or cameras at elevated locations to eliminate blind spots.
- Cable Management Clips: Use these to keep wires organized and prevent them from becoming a tangled mess, especially in a wired security system setup.
- Cable Tester: To ensure connectivity, a cable tester verifies that all connections work effectively, minimizing potential issues post-installation.
With these tools and equipment in hand, you’re better prepared for the installation process, ensuring a robust and reliable security system that effectively monitors your home.
Step-by-Step Guide to Mounting Security Cameras
Start by Mounting the Brackets
Whether you're dealing with wired or wireless security cameras, the first step involves mounting the camera brackets on the designated walls or ceilings. Make sure to choose a secure and stable place for the mounts, and keep in mind the best angles to avoid blind spots. Use a drill to install the mounting screws and anchors if your walls have a hollow structure.
Secure the Cameras to the Mounts
Once the brackets are in place, carefully attach the cameras to the mounts. If your camera system comes with adjustable camera mounts, you'll have the flexibility to modify the camera’s direction for an optimal view. For outdoor cameras, consider a housing or additional box to shield them from weather conditions.
Strategically Connect to Power Sources
Connecting cameras to a power source is vital, especially if you’re opting for a wired security camera system. Ensure your wires are neatly secured along walls or ceilings and utilize clips or cable management boxes to prevent tangling. For a wireless security option, remember to check battery levels regularly.
Incorporate Alternative Mounting Ideas
Before finalizing, consider alternative camera mounting ideas such as placing cameras at entry points, driveways, or low visibility areas. If installing cameras indoors, seek higher vantage points to maximize coverage across rooms and avoid any potential blind spots.
Once you’ve set up the cameras, make sure they are connected to your security system’s DVR box or respective smart home application to commence the live video feeds. A consistent power supply and reliable internet connection will ensure seamless video surveillance and timely alerts.
Wiring and Connectivity Considerations
Connecting and Powering Your Security Cameras
When it comes to installing security cameras, understanding the wiring and connectivity aspects is crucial to ensure your security system functions effectively. Whether you're setting up surveillance cameras indoors or outdoor cameras to cover your entire property, the following considerations will guide you in securing the best results for your camera system.
Power Source Options
Choosing the right power source is vital for maintaining a consistent surveillance performance. For wired security installations, ensure you have access to an outlet nearby or consider running electrical cables through the walls to conceal them. Wireless security cameras, on the other hand, can rely on rechargeable batteries. Make sure battery-operated cameras are within easy reach for maintenance.
Connectivity Considerations
Reliable connectivity is essential for both wired and wireless security setups. For wired systems, strategically place your cameras to minimize the length of cables needed. This not only reduces costs but also prevents potential signal loss, especially if using an analog DVR box. For wireless installations, ensure a robust Wi-Fi signal covers the areas where your cameras will be mounted. Investing in a Wi-Fi extender may be worthwhile to avoid any connectivity blind spots.
Viewing and Recording Options
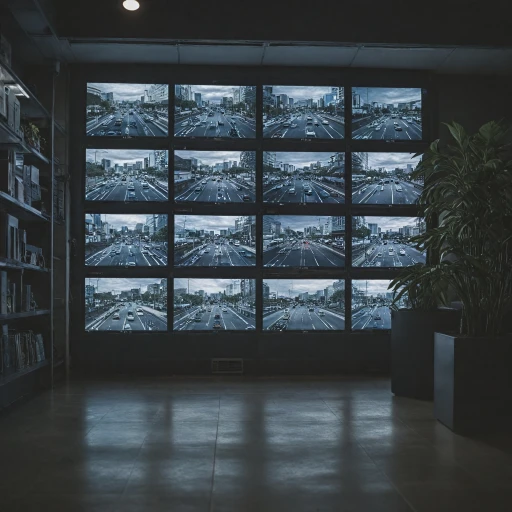
Integrating your cameras into a centralized camera system can enhance monitoring and recording capabilities. Connect your security cameras to a DVR box or a network video recorder to store footage safely. Ensure you have high-capacity storage to accommodate video from multiple cameras, especially when planning extensive monitoring of expansive areas.
Preventing Blind Spots
A critical part of the installation process is placing cameras to cover vantage points without creating blind spots. Utilize adjustable camera mounts to accurately target specific areas, and regularly test the video feed to ensure optimal views are maintained.
By meticulously addressing these wiring and connectivity elements, you'll lay a solid foundation for a reliable and secure home security system. Additionally, keep in mind that regularly maintaining your cameras, such as cleaning lenses and checking connections, is necessary to secure uninterrupted surveillance performance.
Testing and Maintaining Your Security System
Ensuring Your Security System Functions Seamlessly
After placing your cameras in strategic locations and ensuring a sturdy mounting, testing and maintaining your security system is crucial to guarantee it operates efficiently. Here's how you can keep your setup in optimal condition:- Check Power Sources: For wired security cameras, ensure that all cables are securely connected to their power source. Wireless security cameras should have batteries fully charged or directly connected to a consistent power supply to avoid interruptions in functionality.
- Monitor Connectivity: Verify that your wired system shows a consistent video feed without disruptions. Ensure outdoor cameras maintain a reliable wireless connection, potentially requiring a router adjustment to improve signal strength.
- Review Camera Placements: Regularly inspect your camera locations to ensure they aren't obstructed by new blind spots such as foliage growth or moved objects. This helps in maintaining the intended field of view and keeping surveillance effective.
- Test Storage Solutions: Access your DVR box or cloud storage system to confirm that the recorded video is clear and accessible. Monitoring stored footage periodically helps you decide if additional storage is necessary.
- Schedule Routine Maintenance: Include regular checks in your calendar to clean camera lenses, adjust mounts, and tighten any loose screws or brackets. This will keep your cameras in top condition, especially for outdoor cameras exposed to varying weather conditions.
- Regular Software Updates: Keep the software and firmware of your security cameras and overall system up to date. These updates often include important security patches and feature enhancements for a more robust surveillance experience.

